LED Downlights in Five Families
Our LED downlights fall into five families. Each has a different body, a different part that decides its cut-out, and a different set of fields to confirm. This page walks through them in order and ends with the checklist we answer every enquiry against.
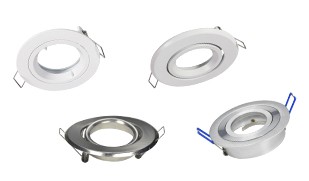
GU10 and MR16 frames and housings
GU10 and MR16 downlights start from a frame or housing that holds a separate lamp. The housing, in aluminium, iron or plastic, is the part that fixes into the ceiling, so the housing decides the cut-out. Whether a frame is fixed or tilting is a per-model fact on its drawing.
Because the lamp is bought separately, we list housings as fittings with their own page and their own order lines.
Confirm: F1 · F2 · F3 · F10 · F11 · F12
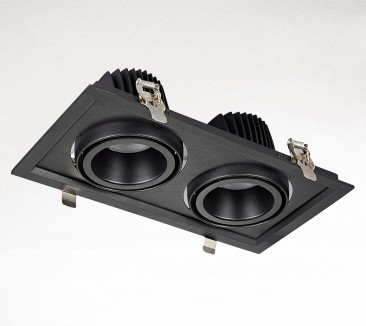
COB downlights
COB downlights put a single chip-on-board source behind a reflector. That arrangement gives a defined pool of light and real control over glare, which is why it’s the usual choice for accent and display work. The family includes twin-head recessed fittings, adjustable-angle versions you can aim after installation, and anti-glare versions with the source set deeper behind the reflector.
Reflector finish and depth change both the look and the glare behaviour, so read the optic and light-source fields on the model’s sheet instead of relying on the family name.
Confirm: F1–F12
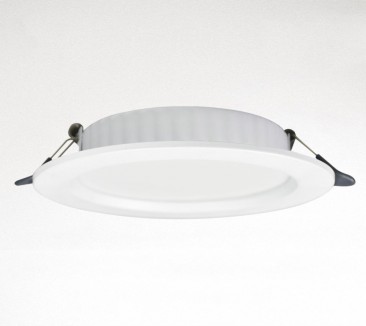
SMD integrated and panel downlights
SMD downlights spread surface-mounted LEDs across a board behind a diffuser, so the lit face reads as one even surface. They suit ceilings that should look calm: corridors, offices, bedrooms and back-of-house areas. Integrated bodies and flat panel bodies are both part of the family.
Body height varies from model to model, so take F3 from the sheet rather than from how slim a sample looks.
Confirm: F1–F12
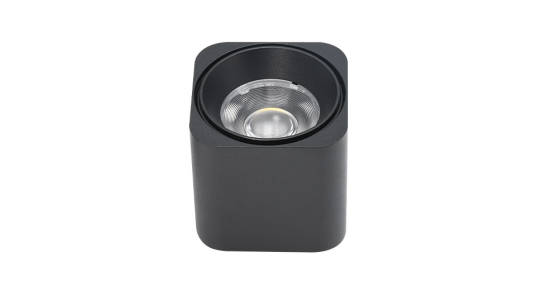
E27 downlights and bodies
E27 downlights are built around a standard E27 lamp holder. The body is the product and the lamp is chosen separately, which keeps replacement simple for whoever looks after the building later.
The lamp sits inside the body, so lamp size changes how much depth you need: check F3 against the lamp you actually plan to use. Surface-mounted bodies need no cut-out at all; recessed bodies follow the same F1 rule as every other family.
Confirm: F1 · F2 · F3 · F10 · F11 · F12
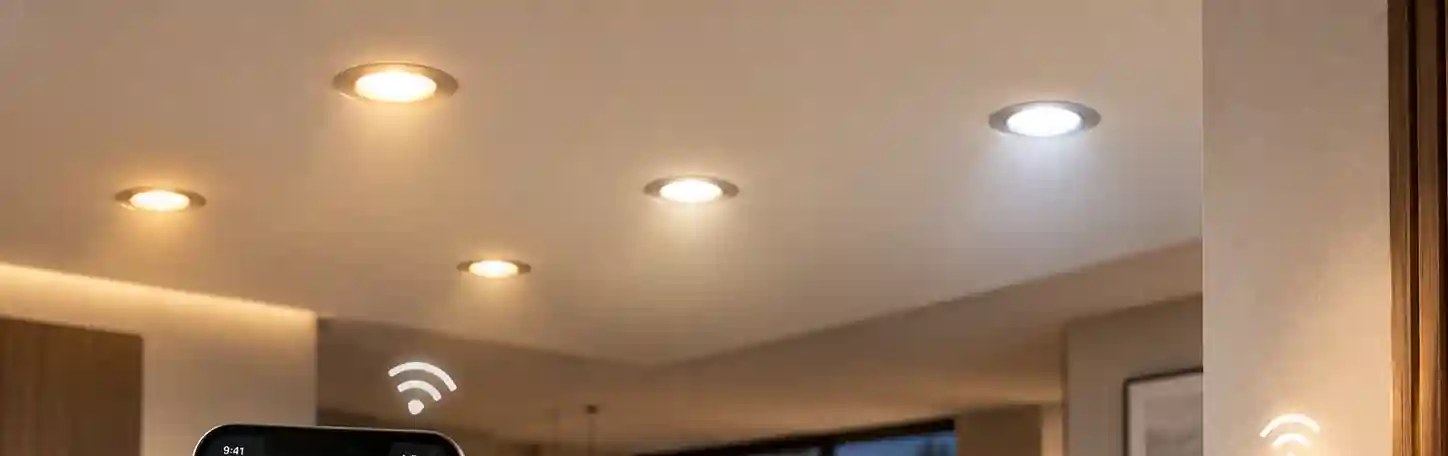
Smart WiFi downlights
Smart WiFi downlights are networked complete lights with app control, dimming and CCT adjustment. Smart versions available on selected models — app, gateway and voice-platform compatibility to confirm with our team.
The ceiling side works exactly like a non-smart downlight: the same F1, F2 and F3 logic, the same mounting choices.
Confirm: F1–F12 + app / gateway / voice-platform check
A family tells you how it’s built, not its numbers
Two COB downlights can share a reflector style and still differ in cut-out, power and colour fields. Two SMD panels can look identical from below and need different depths above the ceiling. That’s why every value cell on this site carries the same stamp, per-model — confirm on spec sheet, and why we’d rather confirm a figure than round it into a headline.
When you enquire, name the family to narrow the search, then list the F-codes you need confirmed. We reply with values from the spec sheet of each model that fits.

The F1–F12 checklist for LED downlights
Use the codes in your enquiry. Housings and E27 bodies use the subset shown in the family rows above; complete lights use all twelve.
| Code | Field | Why it matters | Value for your model |
|---|---|---|---|
| F1 | Cut-out size | The hole in the ceiling. On a retrofit it has to match the hole that’s already there; on a new build the hole is cut to this figure. Check shape as well as size. | per-model — confirm on spec sheet |
| F2 | Face diameter | The visible trim. It has to overlap the cut edge, so it’s always a different figure from F1. Never read one as the other. | per-model — confirm on spec sheet |
| F3 | Body height | Depth above the ceiling line, including anything attached to the body. It has to clear joists, ducts, pipes and insulation in the void. | per-model — confirm on spec sheet |
| F4 | Power | Sets driver choice and circuit loading. Quote it per model; a family name alone doesn’t fix it. | per-model — confirm on spec sheet |
| F5 | Light source: COB or SMD | COB gives one concentrated source behind a reflector; SMD spreads LEDs across a board. It changes the lit face and the glare control. | per-model — confirm on spec sheet |
| F6 | CCT range | Colour temperature on offer for the model, fixed or selectable. Match it across every fitting in one space. | per-model — confirm on spec sheet |
| F7 | CRI | Colour rendering. It matters most where people judge colour: shops, restaurants, galleries, hotel rooms. | per-model — confirm on spec sheet |
| F8 | Dimmable or not | Whether the model dims, and by which method. It has to suit the dimmer or control system on site. | per-model — confirm on spec sheet |
| F9 | CCT-adjustable or not | Whether colour temperature can be changed after installation, and how it’s switched. | per-model — confirm on spec sheet |
| F10 | Housing material | Aluminium, iron or plastic. Affects weight, finish and how heat leaves the body. | per-model — confirm on spec sheet |
| F11 | Mounting | Recessed or surface, plus the fixing method. Surface models need no cut-out, so F1 drops out of the check. | per-model — confirm on spec sheet |
| F12 | Warranty | Varies by model. Take the term from the spec sheet of each model on the order, never from a family. | per-model — confirm on spec sheet |
Send the hole size and the F-codes you need confirmed
We reply with values from the spec sheet of the model that fits your ceiling: cut-out, body height, optics, dimming and warranty, field by field.