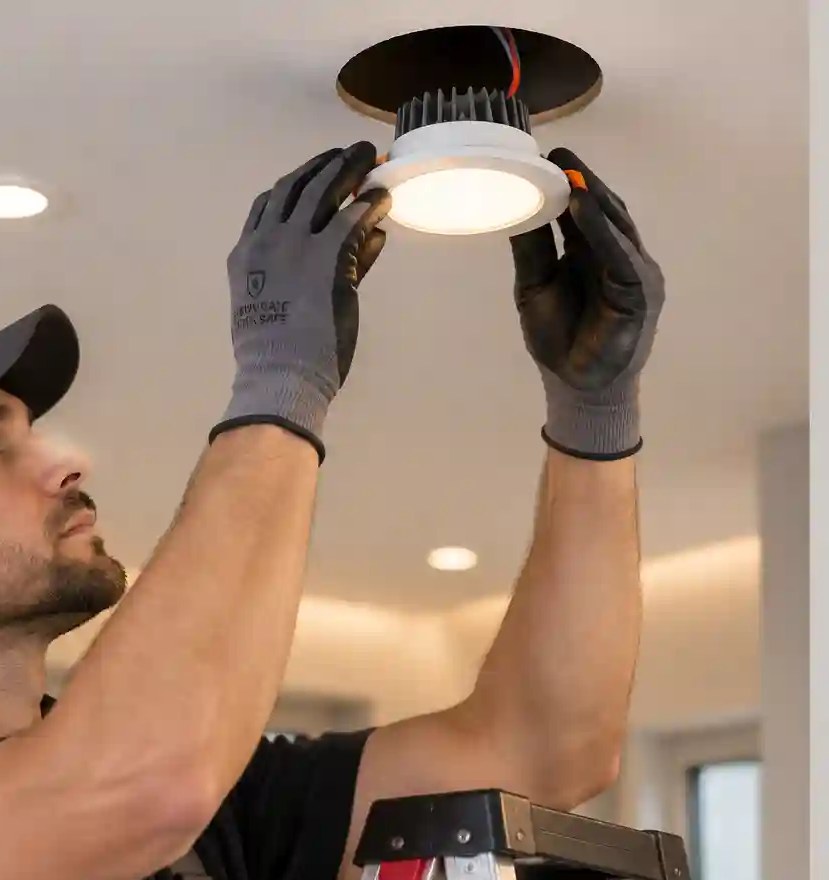
Picture this. You're up a ladder, tape measure in one hand, phone torch in the other, squinting into a ceiling void full of dust and old insulation. There's a downlight box on the floor and a hole in the plasterboard you really hope matches. That gap between hope and the fitting going in — that's the led downlight cut-out size question. And here's the quiet trap inside it: a light can be perfectly healthy and still be the wrong shape for the ceiling. Getting this right isn't about hunting for one magic number. It's about reading the spec sheet the way an installer reads a ceiling: hole first, then trim, then the space behind the board.
Say it's a small guesthouse corridor — twenty-odd rooms, same floor plan, one long ceiling run with services bundled tight above it. The installer's up the ladder in room one, and everything he writes down there has to hold true for the rest of the floor.
So we'll walk that job with him, ladder to last clip, and check the specs as we go. No universal figure exists. Every value that matters belongs to a specific model, and the sheet for that model is what decides.
Measure the hole, not the trim
A spec sheet usually carries three different size fields, and they answer three different questions. Treat them as separate checks, not versions of the same thing.
The first is the cut-out size (F1) — the opening in the ceiling, the thing your hole saw or the existing hole has to match. The second is the face diameter (F2), the visible trim ring that sits on the ceiling surface and must be bigger than the hole so it covers the cut edge. The third is the body height (F3), how far the fitting reaches up into the void above the ceiling line, including anything fixed to the body.
One easy mistake is ordering against the face diameter because it's the figure splashed across the front of a catalogue page. The fitting arrives, the trim looks right in your hand, and then the body won't go through the hole. The reverse happens too. Someone measures the old trim instead of the opening, buys a light, and the body rattles around in a hole that's too big for its clips.
Shape matters as well. Round and square openings aren't interchangeable, and a square trim over a round hole can leave gaps at the corners. Our downlight cut-out size chart shows which part of each family sets the hole, so you know which field to read before you read it.
Back in the corridor, the old fitting comes out and the bare opening gets measured — not the trim he just removed. Across it more than once, at different angles, because plasterboard holes are often cut by hand and they're rarely perfect circles. A hole that's slightly oval will grip a fitting on one axis and leave it loose on the other. He notes the smallest reading and the largest one. Sounds obvious? It still catches people out.
The void is the part nobody checks
Then look at the edge. A crumbling or torn edge changes what the clips can bear on, and if the board around the hole is damaged, a fitting with a wider trim can hide it, but the clips still need sound material to press against. Write down what you find in plain words: shape, the range you measured, the edge condition, the ceiling material. That's more useful to a factory than a single rounded figure, because it tells us how much tolerance the job really has.
Most recessed downlights hold themselves in with spring clips or a similar sprung fixing. The clips fold up to pass through the opening, then open out and press down on the back of the ceiling board.
So the hole has to be big enough for the body and the folded clips to pass, but small enough that the open clips still land on solid board — if the opening is too generous, the clips grab at the very edge, or at nothing. The clips also need room to swing open. A joist, a batten or a run of cable right next to the hole can stop a clip from deploying and the fitting sags on one side. You can't see this from below. Check it before you commit.
Board thickness plays a part as well. Clips are designed to clamp a certain range of ceiling build-ups, and a doubled-up board or a thick acoustic tile may sit outside that range. The mounting field (F11) on the sheet tells you whether the model is recessed or surface and how it fixes, so if you're not sure your ceiling falls inside what the clip can grip, ask us with a description of the build-up rather than guessing.
Body height is where an installation can quietly lose its afternoon. The opening fits, the trim covers the edge, and the fitting still won't seat because something in the void is in the way.
Before you order, find out what's above each hole. Push a hand or an inspection camera up through an existing opening if you can. Joists or noggins running close to the position, ducts, pipes, sprinkler runs, insulation that would sit on top of the fitting, a concrete soffit that leaves only a shallow plenum.
Say this question lands as a photo from a phone, taken from below, of a hole with a torch shining into it. Trouble is, a photo rarely shows what's actually up there. Send us the description instead: what the void looks like, what's in the way, how much room you've got. Words beat a bad photo every time.
Remember that F3 isn't only the lamp body. A separate driver, a junction box or a cable gland can add to the space you need, and on some families the lamp choice changes the depth. A housing built for a GU10 lamp, for example, needs room for whichever lamp actually goes in it. That's covered in more detail on our GU10 and MR16 housings page. Insulation deserves its own note, too: covering a fitting traps heat, and how much clearance a given model needs is a question for its sheet and for the regulations where you're installing. Don't assume a fitting can be buried just because it fits.
Two lights, same name, two different holes
It's tempting to treat a product family as one size. It isn't. Inside a single family you'll often find several bodies, and they can differ in opening, trim and depth. Two lights with the same name prefix may need two different holes.
That's why we quote dimensions model by model and mark them per-model — confirm on spec sheet — and a catalogue page summarises a range while the sheet describes the object that'll arrive in the box. When those two disagree, the sheet wins. Ask for the sheet of the exact model you're quoting, and check that the revision matches what's being produced for your order. If a supplier sends you a family brochure when you asked for a model sheet, push back. You need the drawing with the dimensions on it, not a lifestyle photo.
For context on how dimensions and fixing are described more generally, industry bodies like the Illuminating Engineering Society publish practice guidance on lighting design, and luminaire safety and mounting requirements are set out in standards from the International Electrotechnical Commission. Your local regulations sit on top of both.
Hole, trim, void, fixing, driver
That's the check, in that order. The table below is the same thing on paper, short enough to take onto site.
| Step | What you do | Field on the sheet |
|---|---|---|
| Hole | Measure the bare opening several ways; note shape and edge condition | F1 |
| Trim | Confirm the visible face overlaps the cut edge all the way round | F2 |
| Void | Check what sits above the position and how much depth there is | F3 |
| Fixing | Confirm recessed or surface, clip type, and the board it has to grip | F11 |
| Driver | Find out whether the driver is integrated or separate and where it goes | F3, F4 |
If any step leaves you unsure, stop there. It's cheaper to send one more question than to reorder a whole floor.
What to put in the email
We answer cut-out questions from the spec sheet of the model concerned, so the more precisely you describe the ceiling, the faster we can match it. Back to that guesthouse corridor: the installer sends us four lines, naming the shape of the opening, the spread of readings across three rooms, what the void looks like at the tightest point, and whether this is retrofit or new board. No numbers from a catalogue, no guesswork. That enquiry we can answer straight off the model's own sheet, whereas a one-line email asking "will this fit?" gets a question back.
So a good enquiry names the shape of the opening and the range of readings you took, says what the ceiling material is and roughly how it's built up, describes what you found in the void above and any obstructions, states whether it's a retrofit or a new ceiling, and lists the F-codes you care about — usually F1, F2, F3 and F11, plus F4 to F9 if you're specifying the full light.
The light itself matters too. If the space is a shop or a hotel corridor, glare and beam may matter as much as fit; our guide to anti-glare downlights covers that side of the spec, and if you're choosing between fittings for a particular kind of room, the applications page shows how the families line up against typical spaces.
When there's no hole yet, none of this is measuring — it's cutting. F1 from the chosen model's sheet becomes the cutting instruction, so pick the model first, confirm its sheet, and only then mark the ceiling. Cutting to a generic size and then hunting for a light to fit it is how projects end up with mixed trims across one room. In a corridor refit with twenty identical rooms, you'll be looking at that mistake for years.
Fit is the boring part of lighting, until it goes wrong. When the sheet and the hole disagree, the ceiling doesn't move.
Buy the light that matches the hole.